


Broadcast Radio (Windows)
How to broadcast radio on your Mac
How to broadcast existing radio stations
You can be streaming in less than 10 minutes by following the guide below!
To begin broadcasting your internet radio on SwiftChat, you will first need to set up an account on a radio streaming server. After you have set up your streaming server, you will need to download a broadcasting application. Once you have your streaming server and broadcasting application set up, you can obtain your radio link and add it as a radio station in your SwiftChat chat room. From there you can start interacting with your radio listeners!
Step 1. Set up a streaming server.
Here are popular streaming server options.

MyRadioStream
Home page
Home page
Free shoutcast server hosting. Start your own radio station for free! This option is recommended for its simplicity and fast setup.
SHOUTcast Radio Manager
Home page
Home page
A great option for online or terrestrial stations looking to save money on streaming. We provide free hosting and unlimited listeners and bandwidth for your station.
Please note: the control panel of the streaming server will contain an address, port and password. Save them to use with the broadcasting application selected below.
Step 2. Download a broadcasting application
Here are popular broadcasting applications.

Rocket Broadcaster is brand new and we highly recommend it on Windows computers, due to its simplicity, and microphone and computer audio support. You can configure and start broadcasting in less than a minute with Rocket.
Rocket Broadcaster is brand new and we highly recommend it on Windows computers, due to its simplicity, and microphone and computer audio support. You can configure and start broadcasting in less than a minute with Rocket.

Broadcasting Using This Tool (BUTT) is an easy to use audio streaming tool, and runs on Linux, Mac OS X and Windows.
By default it only supports microphone audio, but it can be configured for capturing computer audio with instructions provided, for Mac. For Windows computers we recommend using Rocket Broadcaster.
By default it only supports microphone audio, but it can be configured for capturing computer audio with instructions provided, for Mac. For Windows computers we recommend using Rocket Broadcaster.

A simple solution to stream your audio to your server with Winamp and the Shoutcast DSP plugin installed on a Windows computer.
If you're a serious broadcaster, then SAM Broadcaster may be the best option for you on Windows computers. The next generation cloud software that is always online, even when you are not.
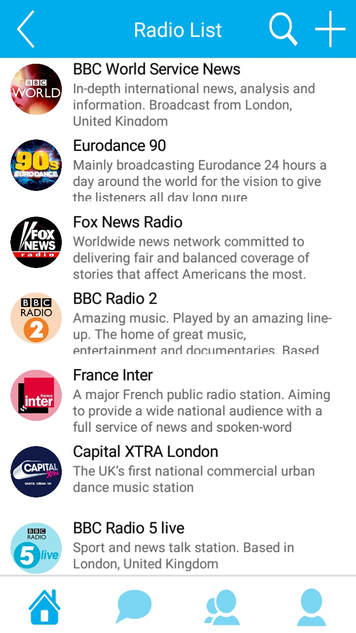
Adding a radio stream link to SwiftChat
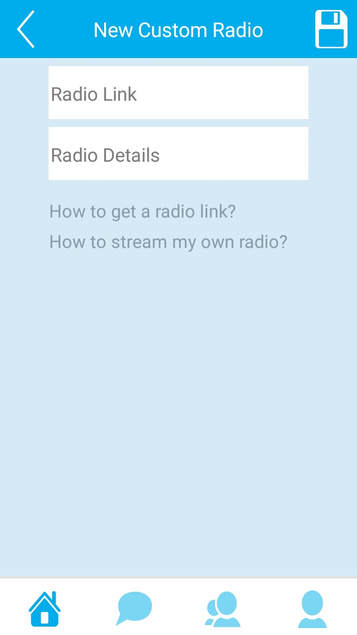
Once you have your server link from Step 1 and it's successfully broadcasting with Step 2, you can add it to SwiftChat by going to the radio list page, and pressing the "+" button.

On New Custom Radio you can enter the link for your server.

Are you hearing echoes in your broadcasts?
If your broadcasting application is streaming audio from your microphone, and your device is nearby playing the audio from your broadcast, such as through SwiftChat, make sure it is not being recaptured by the broadcasting application.
For some broadcasting applications, such as Rocket Broadcaster, you can reconfigure your broadcast to record from sources other than the microphone.